The Best Approach to Soundproofing a Basement Ceiling
Most of us like the sound of adding soundproofing to our interior spaces. It allows us to immerse ourselves in our music and movies without bothering others. It also works the other way around. When we are binging our favorite shows, few things are more annoying than neighborhood noise creeping in. Adding soundproofing materials and acoustical treatments can take care of both issues.
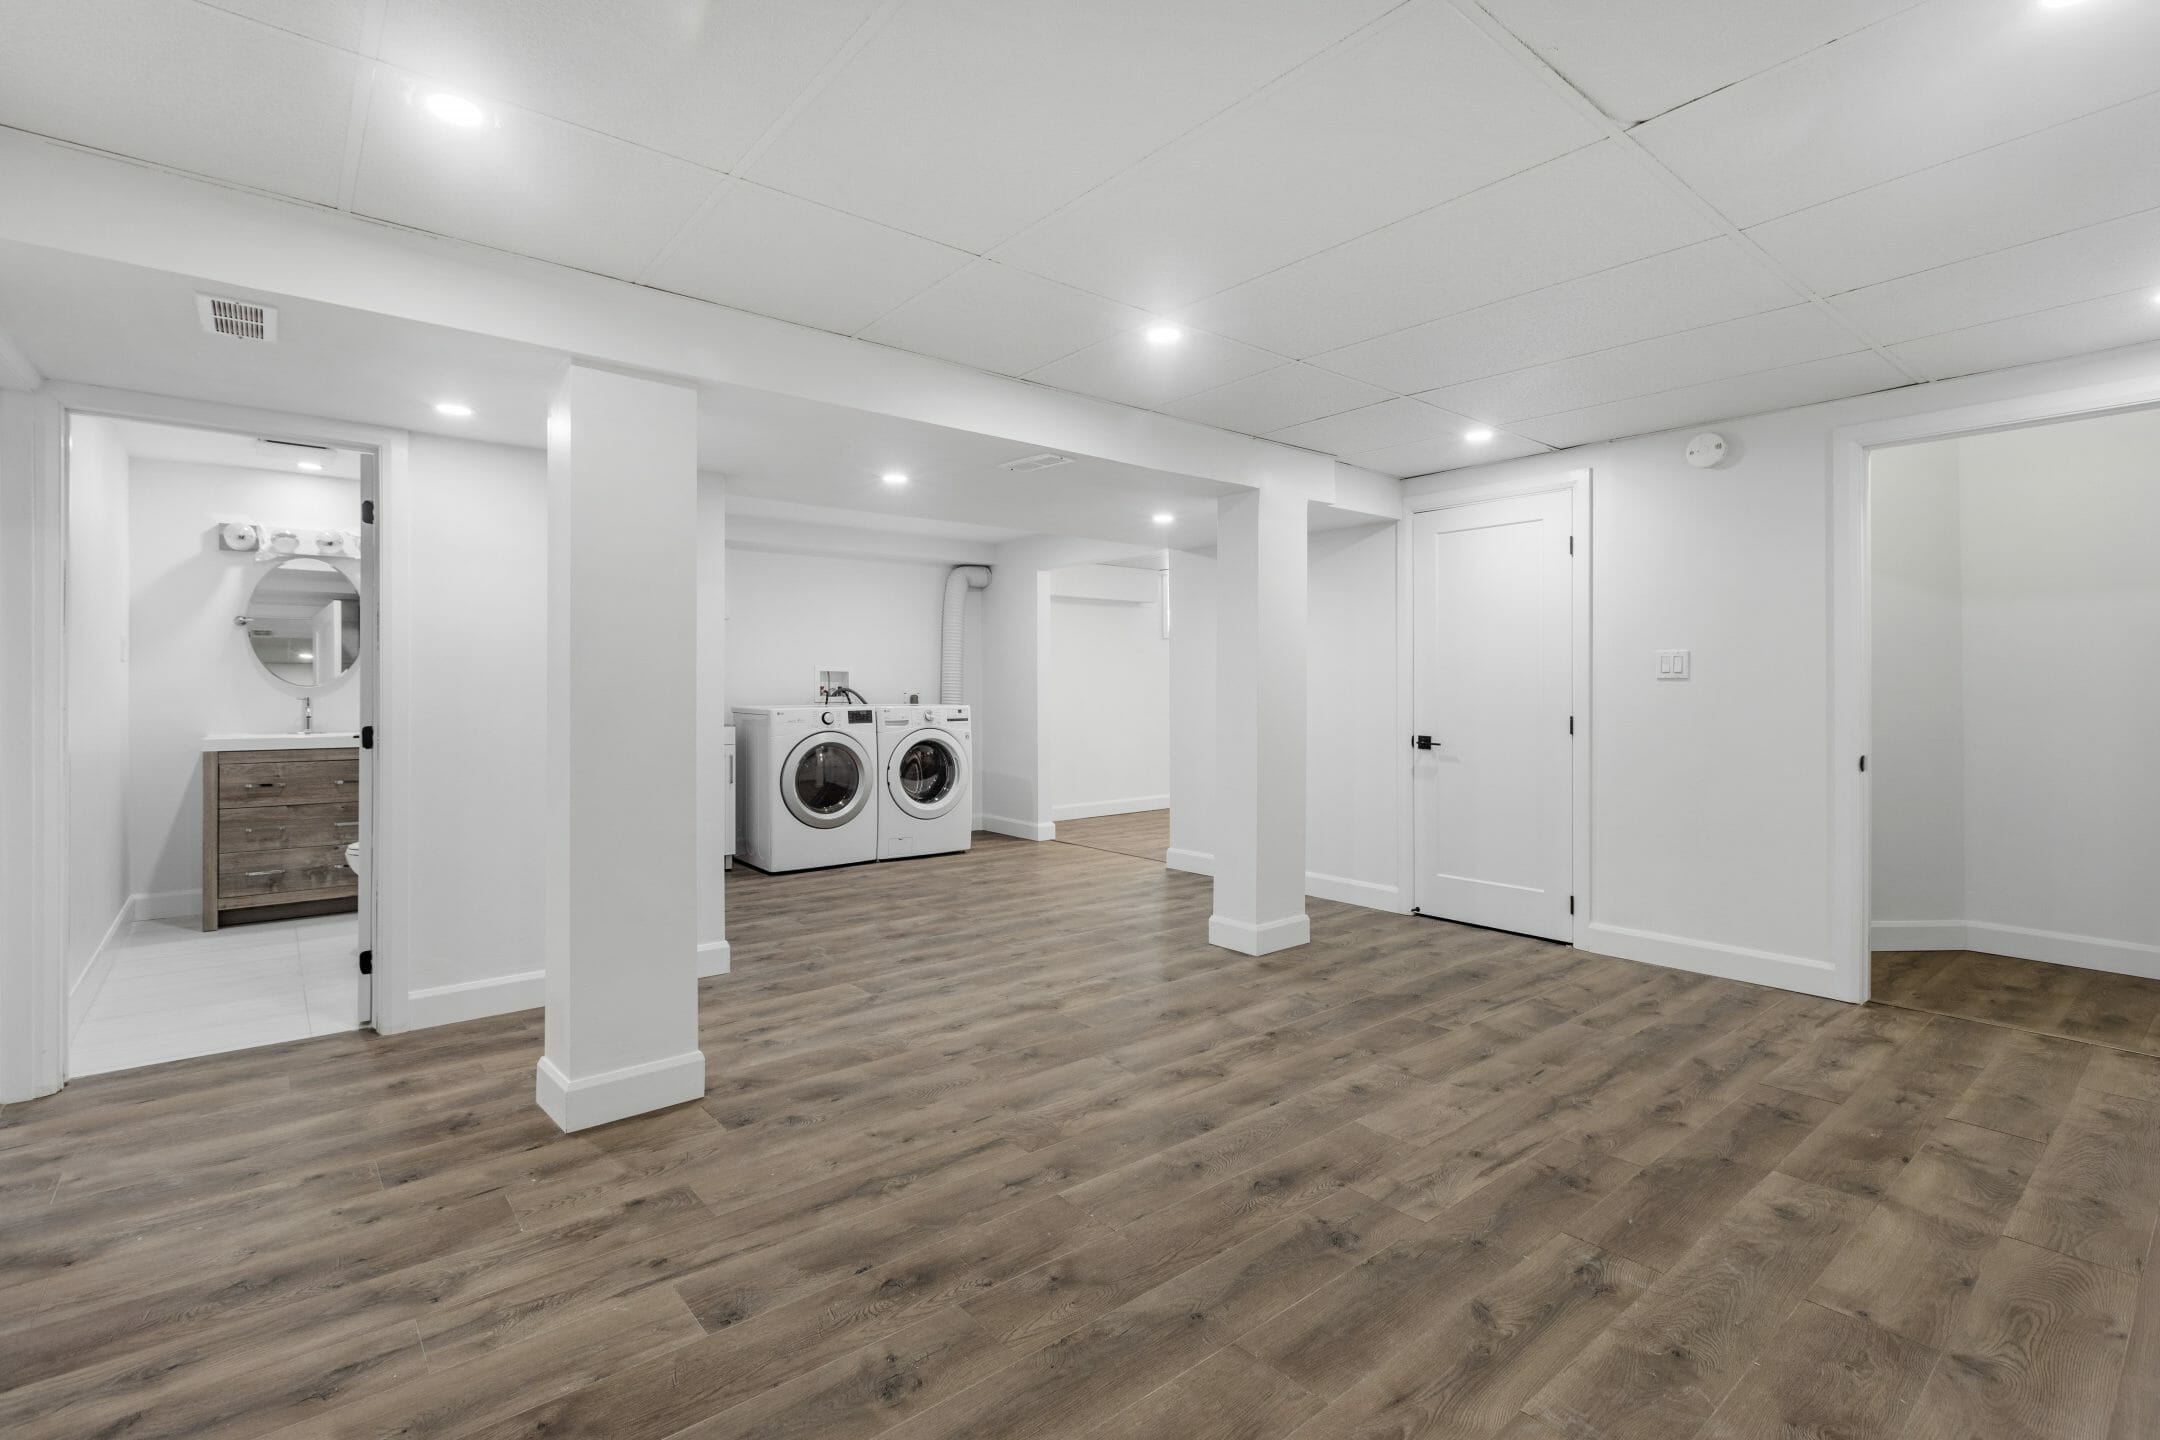
Room selection is the first step. It’s always easiest to choose a room that needs less attention. The basement is a great place for a soundproof room, but the ceiling can leak noise. Soundproofing a basement ceiling can turn that unused space into a fortress of solitude you’ll love. Let’s look at how it’s done.
Soundproofing Basics
When it comes to soundproofing, each type of room is treated a little bit differently. On the other hand, all sound is created by vibrational energy. No matter what type of room we’re soundproofing, we’re working to stop those vibrations from traveling.
When we soundproof rooms, there are a few main sound reduction principles that we must take into account. They are:
- Adding Mass
- Decoupling Surfaces
- Damping Vibrations
- Sealing Gaps
- Absorbing Sound Waves
Each of these plays an important role in the amount of sound that passes in or out of rooms. They all have slightly different effects on vibrations, and work together to create a robust solution. Now that we understand the basics, let’s look at how they apply when soundproofing a basement ceiling.
Soundproofing a Basement Ceiling
Since the concrete and earth construction provides fairly soundproof basement walls already, the main focus is on the ceiling. That’s where sounds pass from one level of the house to the others. In order to create a solid sound barrier for basement ceilings, we need to utilize the principles we just covered.
Adding Mass
The first line of defense is adding mass to your walls, ceilings, and points of entry. The more mass they contain, the harder it is for sound waves to penetrate. When soundproofing a basement ceiling, we’ll want to add mass wherever we can. If the basement is unfinished, we have some fantastic options.
Add Insulation
The first step, if you’ve got exposed joists, is to add insulation. It’s a fairly easy process, and it will significantly cut down the amount of sound that passes between the floors. You can add insulation to finished ceilings too, but that will require a lot of work. Make sure you’re up to the task.
Make sure you choose the right insulation, too. The best insulation for soundproofing basement ceilings is not the thermal insulation they sell at the hardware store. When working with a basement ceiling, sound insulation is always best.
Thermal insulation will allow you to make minor acoustical improvements, but it’s not really made for sound. It’s great for creating a thermal seal, but not a whole lot else. On the other hand, acoustical insulation will provide both soundproofing and thermal benefits. That means you’ll not only get great soundproofing, but possibly lower heating and cooling bills as well. When it comes to the basement, soundproof insulation is the way to go.
Add Mass Loaded Vinyl
If you want to seriously increase the mass, you’ll need more than just insulation. Mass loaded vinyl works great. It’s incredibly dense and it’s relatively easy to install. Simply roll it out on top of your existing drywall and tack it down. For soundproofing exposed basement ceilings, roll it out across the joists for an easy DIY method of adding mass.
Add Drywall
If you want to add even more mass, try adding a layer of drywall on top of that mass loaded vinyl. If you’re doubling your drywall, be sure that your joists can handle the added weight. Drywall weighs quite a bit and could compromise the integrity of the structure. Soundproofing a basement ceiling isn’t worth a potential collapse.
Decoupling Surfaces
Another way to prevent vibrations from passing through barriers is to remove contact points. It’s one of the most effective means of soundproofing basement rooms. As vibrations travel through walls and ceilings, they will stop when they encounter gaps. An easy and affordable way to do this is with a drop ceiling and acoustical tiles.
Suspending a T-grid system below your joists creates a gap between surfaces. It also adds acoustical panels on the bottom, meaning many sounds that make it through get absorbed. As an added bonus, drop ceilings make home repairs quick and easy. Just remove a tile to complete your work and replace it when you’re done.
The one caveat is that drop ceilings can make the space look cramped. Make sure you have enough ceiling height if you want to go this route.
There is another way to decouple your ceiling surfaces, but it’s not terribly easy. You can mechanically decouple the joists and studs using specialized hardware, but make sure you know what you’re doing. If you have limited experience with structural construction projects, it may be above your pay grade. If you want to go this route, but you’re concerned at all, hire a pro to get it done right.
Damping Vibrations
If your basement is unfinished, you can achieve some sound dampening easily. Luckily, sound dampening basement ceilings doesn’t have to break the bank either. Apply a bead of green glue to your joists and install drywall. The green glue will change vibrational energy into heat energy and stop it in its tracks. If your basement is finished, you aren’t out of luck.
If your joists can support it, you can add green glue on the current ceiling and additional drywall over that. This solution is doubly effective at soundproofing a basement ceiling, since you are both damping vibrations and adding mass. Again, make sure the joists are strong enough to support the added weight.
Sealing Gaps
You’ll also want to make sure to seal any gaps you can find. Sound will readily pass through any openings that air or water can pass through. Luckily, sealing them shouldn’t be incredibly difficult.
If the gaps aren’t huge, you can get by with a tube or two of acoustical caulk. It works very much like regular silicone caulk, but it stays flexible and blocks sound more efficiently. Filling gaps with acoustical caulk will prevent airborne sounds from traversing the space. If the gaps or cracks are very large, contact a construction pro. Something isn’t right.
Absorbing and Diffusing Sound
Soundproofing a basement ceiling is much easier if you stop some of the sound waves before they reach the surface. That means using acoustic panels and sound diffusion to lower overall volumes. Here’s how they work together to reduce basement noise.
When sound waves encounter hard, flat surfaces, they reflect back into the room. When those reflections become excessive, they lead to echo and reverberation. Echo can make the room sound bad, but reverberation can significantly increase the ambient sound levels. That’s because reverberation is the buildup of sound waves in space. Acoustical panels and sound diffusers can help tackle the problem.
Acoustic panels absorb many sound waves before they can reflect. They are dense and porous, and allow sound waves in but not out. This lowers the number of sound waves bouncing around in the space.
Diffusers work a little differently. They scatter sound waves and prevent the back and forth caused by direct reflections. Using a combination of panels and diffusers lowers the volume and makes soundproofing a basement ceiling much easier.
Soundproofing a Basement Ceiling Cheaply
The plan we’ve laid out will net you great results, but it can get spendy if you aren’t particularly handy. If you don’t have the funds to try all the techniques we covered, you can still get decent results cheaply. Focusing your efforts on a few problem areas can work wonders on a budget.
Add Affordable Mass
When it comes to adding mass, something is better than nothing. If you don’t have the resources to add significant mass, there are some ways to do it affordably. This is especially true when we’re soundproofing unfinished basement ceilings.
If you aren’t concerned with a completely finished basement, this is easy. Simply roll out some sound insulation for basement ceilings with a friend. It doesn’t require any special skills, so you won’t have to pay for labor. Order a pizza and buy beverages, and you can get this done on the cheap.
If you’ve got a little gumption and a modest skill set, you can also try to tackle drywall yourself. Again, put a bead of green glue on the joists and affix the drywall. You’ll still need some help holding up the drywall sheets while you screw them in, but it’s another cheap option.
Acoustical Caulk
Sealing up any gaps will block a good deal of airborne sounds from reaching the other side. It’s cheap to boot. You can get a few tubes of acoustical caulk and install it yourself for under a hundred bucks. Any time you can avoid paying for labor, you’ll save yourself good money.
Don’t settle for just the ceiling, either. Sealing any gaps around your basement windows and doors will complete the job and provide better soundproofing results.
Use Quality Products
If you want to get the best soundproofing for basement ceilings, make sure you use quality products. They’ll deliver the most bang for your buck, and you won’t spend weeks navigating a trial and error approach. Another benefit of using quality products for soundproofing a basement ceiling is the support you’ll receive from the seller.
Retailers of professional soundproofing products know a lot about the subject and can keep you on the right track. We know what works and what doesn’t. We also know how to get the results you’re after without breaking the bank.
If you’d like to explore a basement soundproofing project of your own, reach out to see what you’ll need.

