How to Soundproof a Public Bathroom in Stadiums, Arenas, Airports and Other High-Traffic Venues
Public restrooms in stadiums, arenas, and other high-traffic venues are some of the noisiest spaces in any building. Turbo hand dryers, flush valves, exposed plumbing, and hard tile finishes all contribute to a harsh, echoing environment. Without smart planning, that noise doesn’t stay in the restroom–it leaks into concourses, suites, and adjacent offices, creating distractions and reducing guest comfort.
This guide walks through the practical, commercial-grade strategies for designing and retrofitting a soundproof bathroom that can withstand constant cleaning, heavy foot traffic, and building code requirements. Whether you’re specifying materials for a new build or tuning up an existing facility, these steps balance acoustic performance with hygiene, durability, and maintainability.
Why Soundproof and Treat a Public Bathroom
There are many reasons to treat public bathrooms for sound. Beyond privacy, proper restroom acoustics also help control how noise behaves within and beyond the space. Addressing both airborne and impact noise early reduces distractions, improves guest comfort, and helps create a more refined facility experience.
Privacy and Guest Experience
Noise privacy in a stadium restroom or arena washroom isn’t just about courtesy–it’s part of the overall visitor experience. Sound bleeds from toilets, hand dryers, or conversations can carry into nearby suites, lounges, classrooms, or offices. A well-designed soundproof bathroom helps contain that activity to where it belongs, protecting guest comfort and the perceived quality of the facility.
Compliance and Maintainability
Unlike offices or classrooms, public restrooms face continuous moisture, cleaning chemicals, and rough use. Any acoustic solution must survive that environment while maintaining fire, sanitation, and code compliance. Instead of fabric-wrapped panels, which can quickly fail under moisture and impact, opt for washable, moisture-resistant acoustic panels such as Sound Silencer™ PEPP panels from Acoustical Surfaces. These non-fibrous materials resist water, bacteria, and milder, and can be installed high on the wall or ceiling–out of harm’s way from carts and cleaning tools. Choosing Class A fire-rated acoustics materials with washable surfaces that can handle aggressive cleaning routines while meeting hygiene and safety requirements ensures your sound treatments last as long as the rest of the facility finishes–without sacrificing code compliance or cleanliness.
Real Soundproofing vs Treatment
Truly soundproofing a public bathroom takes more than hanging absorptive panels. Blocking sound requires four principles: mass, airtightness, damping, and decoupling. Treatment, on the other hand, deals with reverberation inside the space. You’ll usually need both: assemblies that block transmission to adjacent rooms, plus interior treatments to tame restroom echo and noise. Understanding the difference between airborne vs impact noise also helps guide material choice–mass and sealing control airborne sound, while isolation layers limit vibration and structure-borne transfer.
New Construction: Build Sound Control into the Assembly
When you’re designing from scratch, the most efficient sound control comes from planning isolation into the construction assemblies. Start with isolation and airtightness, then layer in some in-room absorption for balanced acoustic comfort.
Adjacent Walls
Use high-mass partitions, like CMU or multi-layered ⅝” Type X gypsum, with Green Glue damping compound between drywall layers. To break vibration paths, decouple one side using resilient sound isolation clips (RSIC) paired with hat channel decoupling. This combination produces measurable STC gains in both lab and field installations.
Where space is limited, incorporate mass loaded vinyl (MLV) sheets directly over studs or use an MLV-with-decoupler product before the drywall layer. Always maintain seal continuity: apply acoustic sealant at perimeters and penetrations, and use putty pads on electrical boxes to maintain airtightness.
Doors (for small, closed-door bathrooms)
If your restroom includes traditional doors, specify solid-core doors with full perimeter seals and automatic door bottoms. These ADA-friendly solutions can reduce sound leakage dramatically. Off-the-shelf door seal kits simplify specification and installation.
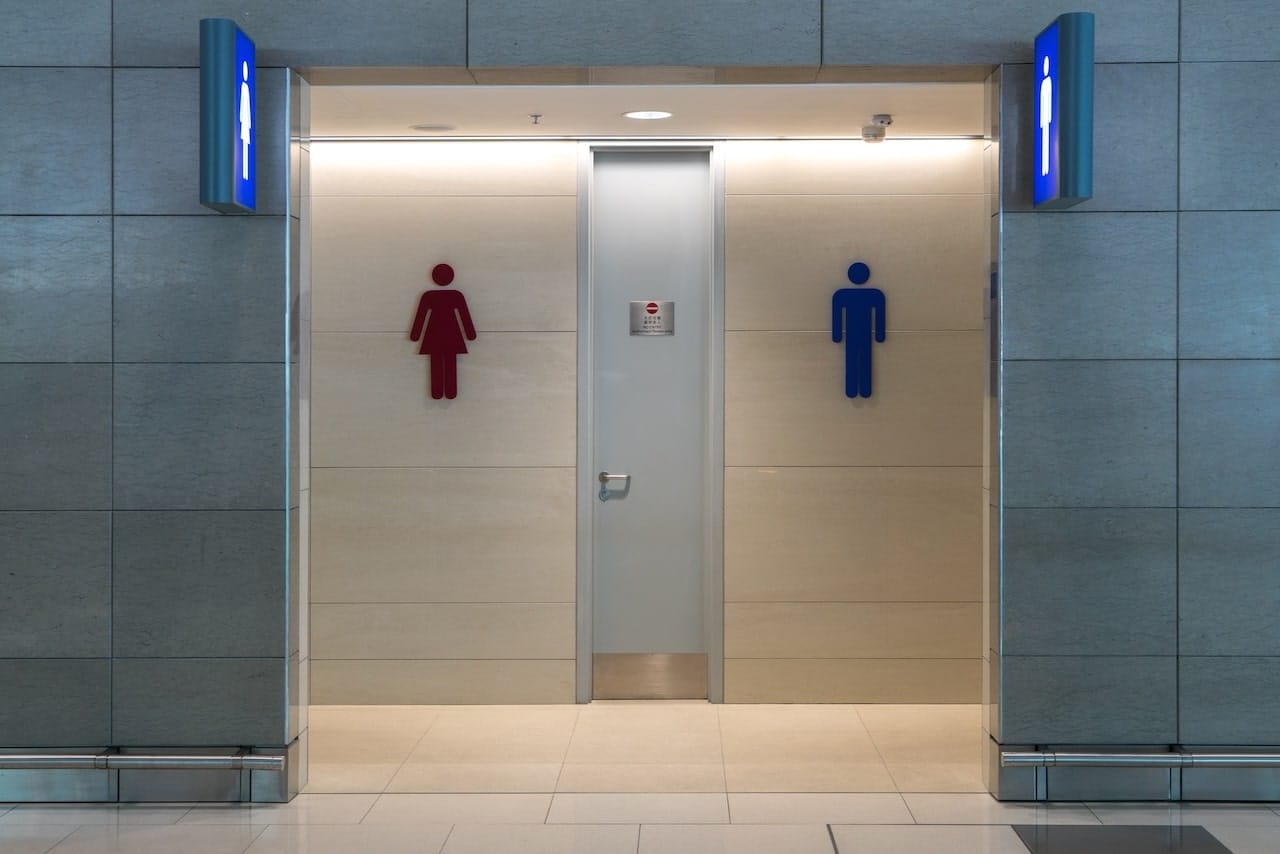
Entryways (for larger, multi-stall public restrooms)
In stadiums and arenas, most restrooms are designed with doorless entry strategies for accessibility and hygiene. These open “maze” layouts–often referred to as dog-leg, S-turn vestibule, or break at entry configurations–allow for free flow of traffic but can also let sound spill into concourses.
While full isolation isn’t possible, you can reduce sound leakage with the right combination of geometry, mass, and absorption. Line the entry walls and ceiling with cleanable, non-fibrous absorption. Options include closed-cell PEPP panels, micro-perforated metal panels backed by absorptive cores or washable composite panels that can withstand mopping and impact. Treat both sides of the entry wings to absorb reflected sound right where it’s generated.
Ceilings and Plenums
Ceilings are often the forgotten link in a soundproof bathroom assembly. If your design includes a shared plenum above the ceiling, airborne noise can easily travel through it. To prevent that, use barrier ceiling tiles (barrier ACT) that combine a standard ceiling tile laminated to an MLV barrier.
For more demanding spaces, choose tiles that both block and absorb–such as dBA ceiling tiles that combine barrier, absorber, and diffuser functions. Fully duct all returns rather than leaving open plenums, which leak sound freely.
When the grid must remain exposed due to moisture or cleaning, specify washable ceiling materials such as Sound Silencer™ or vinyl-faced ceiling tiles that can be disinfected without damage. These products maintain their acoustic performance even under heavy maintenance.
Floors (especially over occupied spaces)
Restrooms above occupied areas require attention to impact sound control. Install a rubber acoustic underlayment or peel-and-stick bituminous mat beneath tile or stone flooring to reduce transmitted vibration and footfall noise. Products like ACOUSTIK™ or Duracoustic S.T.O.P.™ can provide substantial tile floor soundproofing and footfall noise reduction while maintaining compressive strength for heavy use.
Plumbing & HVAC
Noisy plumbing can defeat even the best partition assemblies. Wrap flush valves, waste lines, and vertical stacks with pipe and duct lagging–typically MLV bonded to a quilted fiberglass or foam decoupler. Use isolation hangers and treat HVAC ductwork with silencers or Quiet-Duct Wrap to minimize system noise.
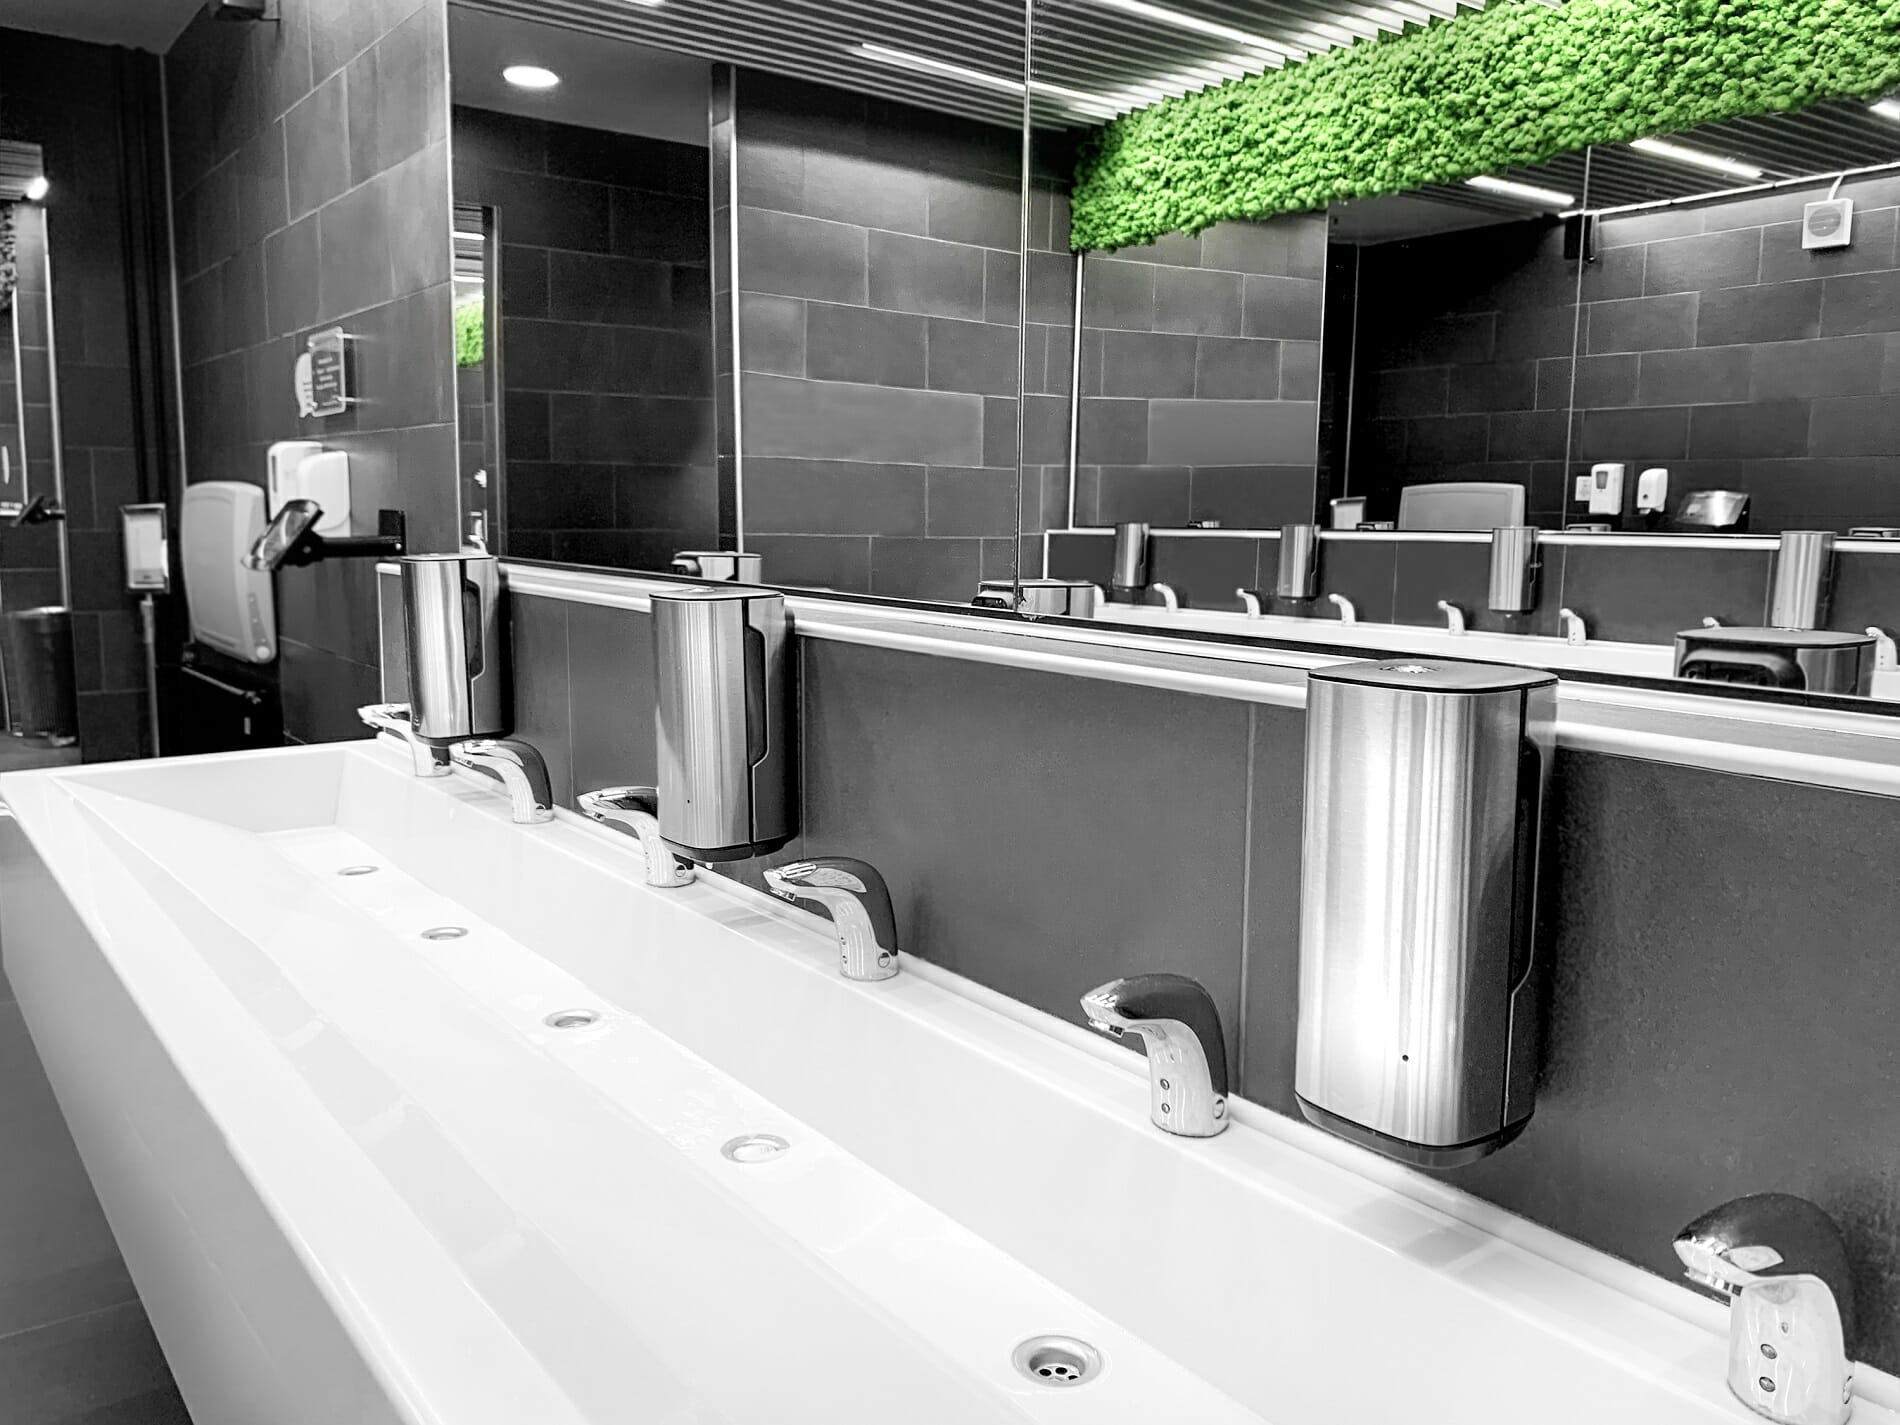
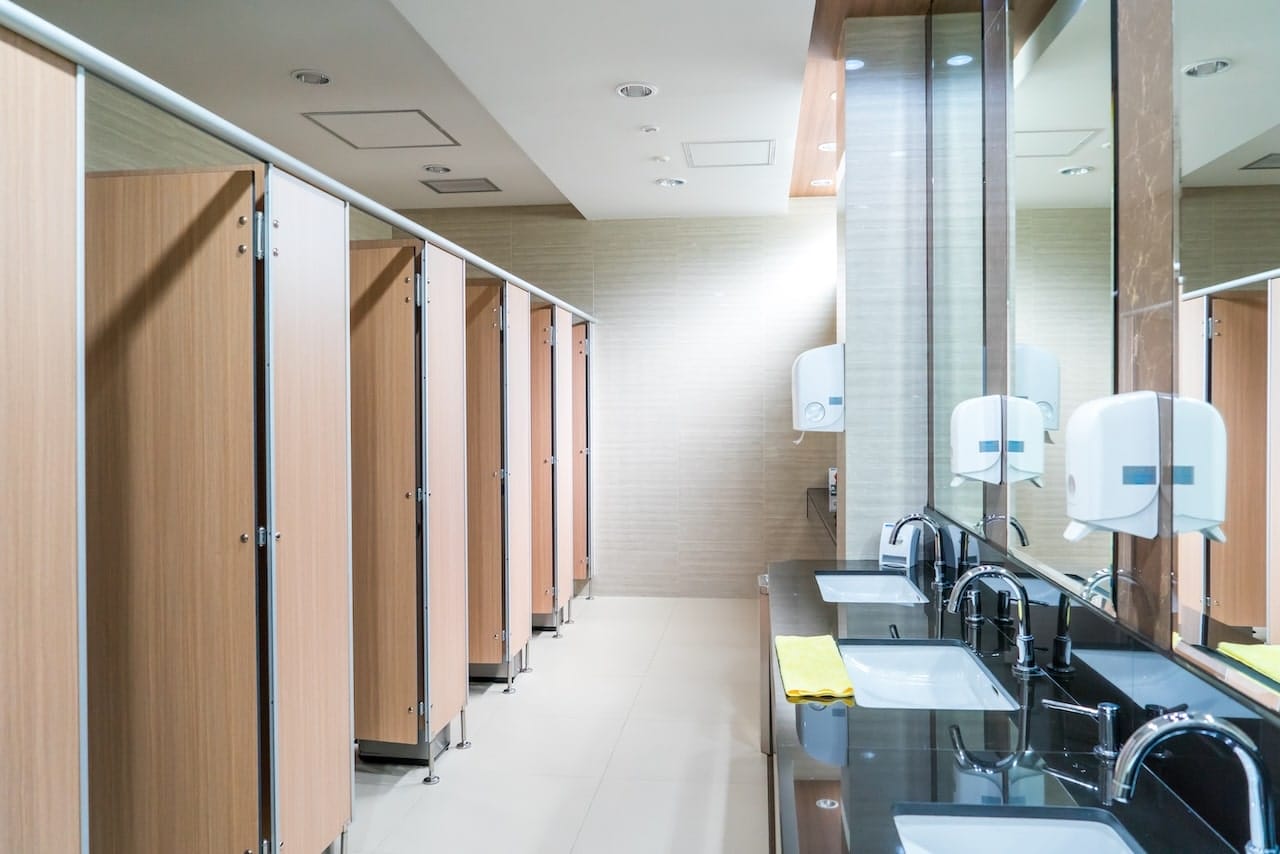
Inside the Restroom
Inside the restroom, the goal shifts from blocking to absorption. The combination of concrete, tile, glass, and metal creates an acoustic echo chamber. Use washable acoustic panels such as Sound Silencer™ PEPP panels or micro-perforated metal panels in high, out of reach locations to absorb reflections. Both options provide solid NRC performance, are Class A fire-rated, and can be cleaned with standard janitorial procedures.
Keep in mind that even the most durable washable products will degrade under direct physical abuse. Mount them high on walls or ceilings–away from carts, mops, and daily traffic–to maintain long-term performance.
 Treatments when Remodeling or Retrofitting
 Treatments when Remodeling or Retrofitting
Not every project comes with the luxury of building from scratch. Fortunately, many effective upgrades can be added after construction with minimal disruption.
Walls
If your existing partitions are drywall, the fastest improvement is to add a second layer of ⅝” Type X drywall with Green Glue damping compound in between. This combination adds both mass and damping without significantly changing wall thickness. Always reseal the perimeter with acoustic caulk and use putty pads on electrical boxes to close leaks.
Where partial demolition is possible, install RSIC-1 clips and hat channels on one side before re-skinning the wall. If space is extremely tight, tack MLV sheets to studs to add mass before refinishing.
Doors
Even if you keep the existing door slab, installing a door seal kit (perimeter gaskets plus an automatic door bottom) can yield major privacy improvements at a very low cost. For sensitive locations near suites or offices, consider upgrading to a solid-core or acoustical-rated door.
Entryways
For retrofit projects, you can still improve doorless restroom entry performance without major demolition. Extend or stagger entry wings to create a dog-leg where possible, and apply washable, non-fibrous absorption to the inside faces of the wings and soffits. Use micro-perforated metal or PEPP panels mounted high and out of reach; these survive mopping and cart impact far better than soft fabric panels. Even modest changes to geometry combined with cleanable absorption can significantly reduce sound escaping to concourses.
Ceilings
Swapping standard acoustical ceiling tile (ACT) for barrier ACT or dBA ceiling tiles helps block sound paths through the ceiling grid. Plug open penetrations, and if you’re isolating a new gypsum lid, consider RSIC EXT hangers to decouple it from the structure above.
Floors
If your remodel includes re-tiling, it’s worth adding rubber underlayment such as ACOUSTIK™ or Duracoustic S.T.O.P.™ beneath the tile layer. These systems are specifically designed for impact sound and footfall noise reduction while maintaining stability under moisture and cleaning conditions.
Plumbing & HVAC
Retrofitting plumbing and ductwork can be straightforward if access is available. Wrap vertical stacks and horizontal runs with Pipe Noise S.T.O.P™ or duct lagging to minimize flush and flow noise. Line loud exhaust ducts or use silencers where practical. Add washable absorption on strategic wall zones and ceilings (away from direct water spray): Sound Silencer™ panels and tiles are moisture-, impact-, bacteria-, and fungi-resistant and Class A. These washable absorbers let you address reverberation without sacrificing hygiene.
Interior Walls of the Restroom
Inside the restroom, you can calm harsh restroom echo and noise by strategically placing washable acoustic panels on upper walls and ceilings. Sound Silencer™ panels or tiles are bacteria-resistant panels, Class A fire-rated, and maintain acoustic performance even under frequent cleaning. If you need a harder, more resistant surface, micro-perforated metal panels or vinyl-faced ceiling tiles can serve as both a finish and absorber.
Talk with The Clean Sound Pros at Acoustical Surfaces
Designing or retrofitting a soundproof bathroom requires balancing acoustics, durability, and hygiene–a challenge unique to stadiums, arenas, and large public venues. From barrier ceiling tiles and rubber underlayments to washable PEPP panels and bacteria-resistant materials, Acoustical Surfaces has the tools and expertise to help.
Whether you’re building new or retrofitting existing facilities, our team can guide you toward code-compliant assemblies that look professional, clean easily, and keep noise where it belongs.
Contact the clean sound pros at Acoustical Surfaces today to get started on your next restroom soundproofing project.