Insul-Quilt Installation
A. Scope of Work
1. Installation of Insul-Quilt Studio Blanket over the exterior wall and or ceiling as acoustical treatment in sound stage or other large area where sound control and reduced reverberation time is required.
a. Installation at the perimeter walls over furring strips to conceal electrical or plumbing piping.
b. Installation directly over precast concrete walls or CMU walls with powder or gas actuated shot pins.
c. Installation directly to precast concrete or CMU walls with Stick Clips and Washers.
d. Installation over wood/stud, drywall or metal stud walls with 1” x 4” or 2” x 4” stripping.
Product Testing & Information
B. Material
Insul-Quilts IQF-F is composed of aluminum infused heavy paper on one side joined with 2 layers of sound insulation all sewn to fiberglass fabric in white or black as standard finish. Insul-Quilts IQF-S replaces the aluminum infused paper with fiberglass cloth on both sides of the blanket. The finished Insul-Quilts are row stitched through the width of the blanket. The blanket fabric edges are rolled under the insulation and stitched to complete a tucked and rolled finished edge detail. Blanket ends are open unless custom ordered with finished ends.
C. Installation
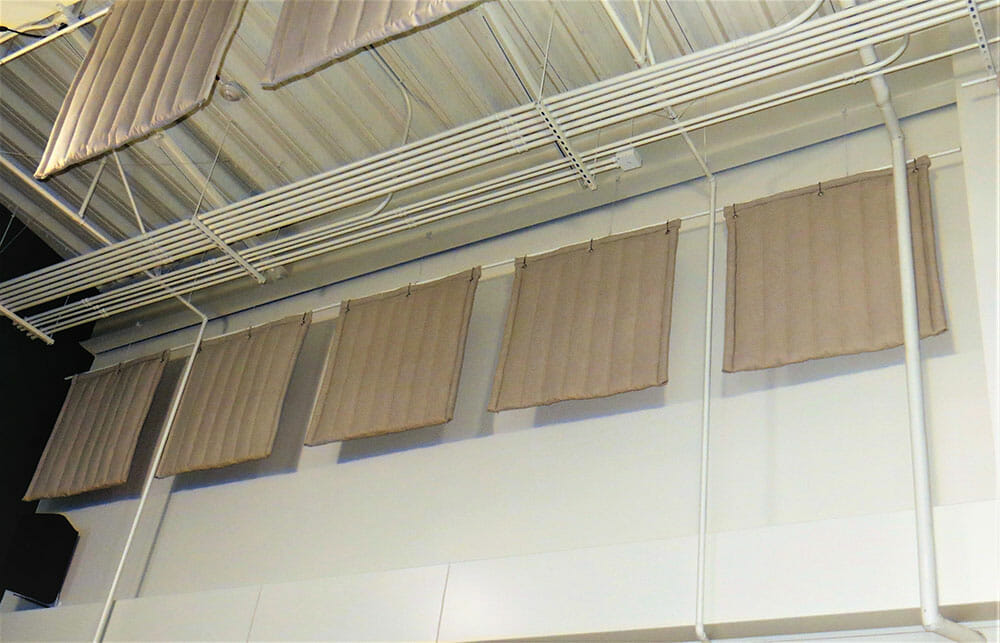
1. Installation at the perimeter walls over furring strips to conceal electrical or plumbing piping.
a. 1”x 4” or 2” x 4” wood stripping can be installed either vertically or horizontally with mechanical fasteners or with powder activated pins (powder activated pins will be used with concrete substrate)
b. The 1” x 4” or 2”x 4” wood stripping installed vertically will be set at 23” OC or 16” OC with the understanding that the width of the blanket will finish out at 47” when tightly adjoined or 46” after a 1” lap on each side.
c. The 1” x 4” or 2” x 4” wood stripping installed horizontally will be set at 24” OC and the Insul-Quilts is hung vertically.
d. The Insul-Quilts may be installed with either roofing nails or coarse screws with a 1” head/washer or with 2” staples at 24” OC along wood stripping. The fasteners must be long enough to penetrate the backing without compromising the Insul-Quilts to less than 1” in thickness at point of penetration.
e. The raw blanket ends must be concealed by abutting, tucking behind, or covering end with secured stripping.
D. Installation over precast concrete walls or CMU walls with powder/air actuated shot pins.
1. Power Actuated Shots and Pins with Washers
a. Attach Insul-Quilts to substrate using Power Actuated Tools and Actuation Fasteners). Tightly adjoin the joint of two blankets vertical edges or overlap vertical edges by 1” and install the Actuated fasteners at 24” intervals vertically. At the midpoint of the blanket, install shot pins at approximately 24” OC vertically.
b. Actuated pins must have a washer or be attached to a washer 1” diameter.
c. Adjust the load so the blanket is not compressed to less than 1”.
E. Installation directly to precast concrete or CMU walls with Stick Clips and Washers.
1. Stick Clips
a. The stick clips will need to stay on the wall to dry for at least 24 hours prior to mounting Insul-Quilts. The fasteners must be long enough to penetrate the backing at least ½” without compressing the Insul-Quilts less than 1” at the point of penetration. The nominal thickness of Insul-Quilt is 2”. Set the stick clips at
16” OC horizontally and 24” vertically.
b. The Stick Pin spindle will be protected by a 7/8” dome cap configuration washer.
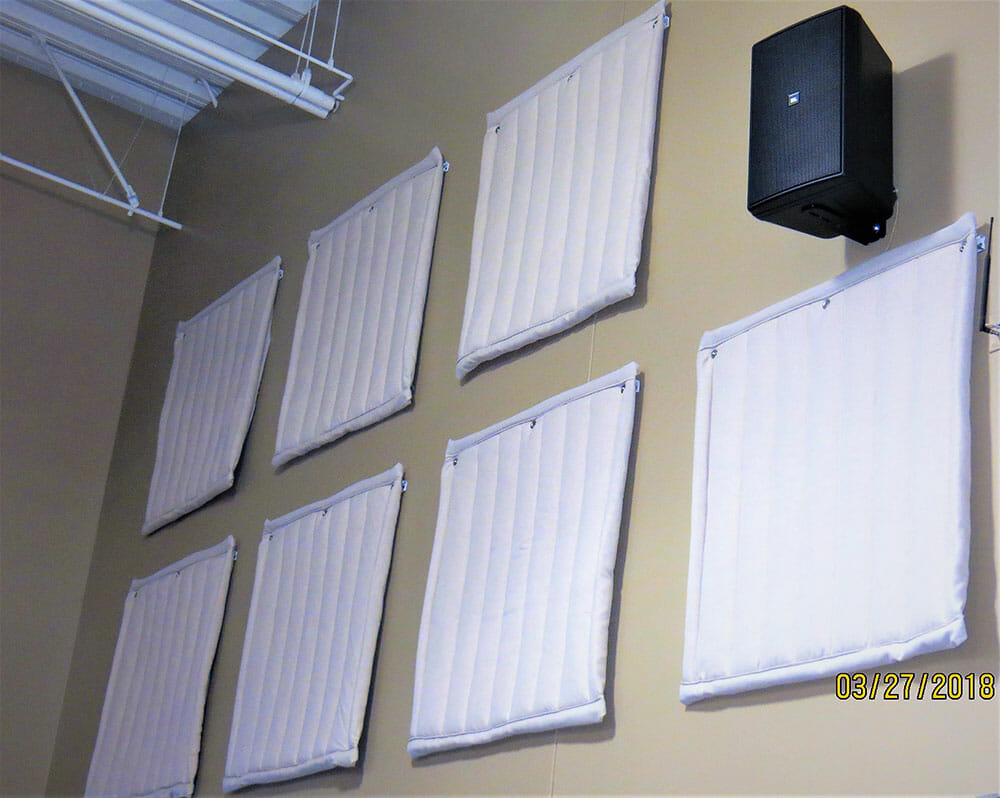
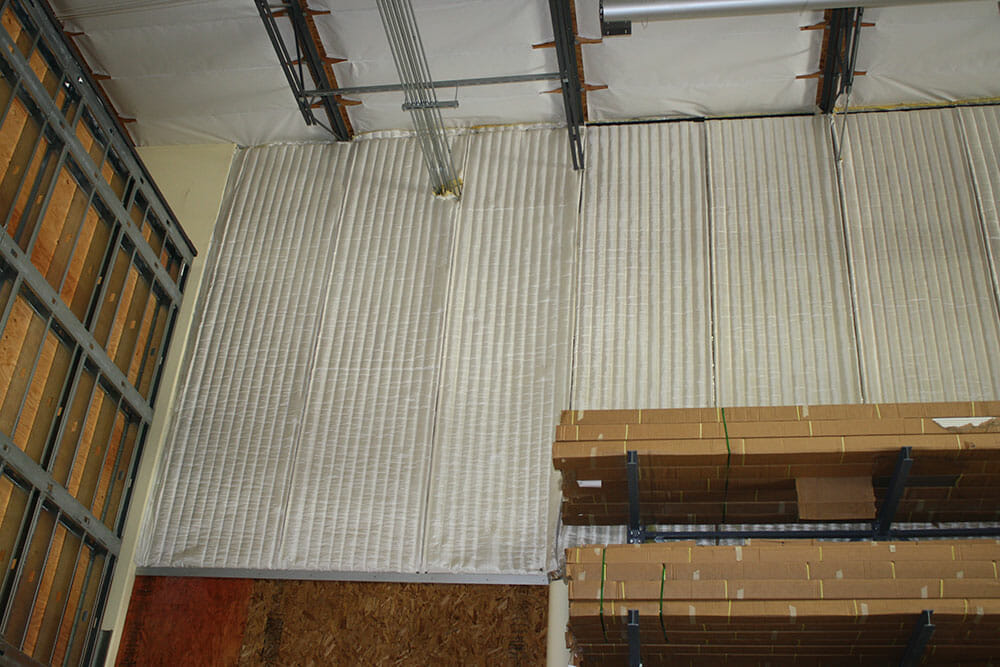
F. Installation over wood stud walls, drywall walls or metal studs, and existing wood backing.
1. Wood Stripping
a. Install 1”x 4” or 2” x 4” strips through drywall substrate at 24” OC horizontally to accommodate vertically hung Insul-Quilts. Attach Insul-Quilts blanket with a minimum 2 ½” coarse thread screw with 1” washer.
b. Existing Wood Backing–Attach one layer of Insul-Quilts with a minimum 2 ½” coarse thread screw with 1” washer and use a minimum 4 ½” coarse thread screw with 1” washer when attaching a second layer of Insul-Quilts to existing wood backing. Do not compress Insul-Quilts to less than 1” at the point of penetration.
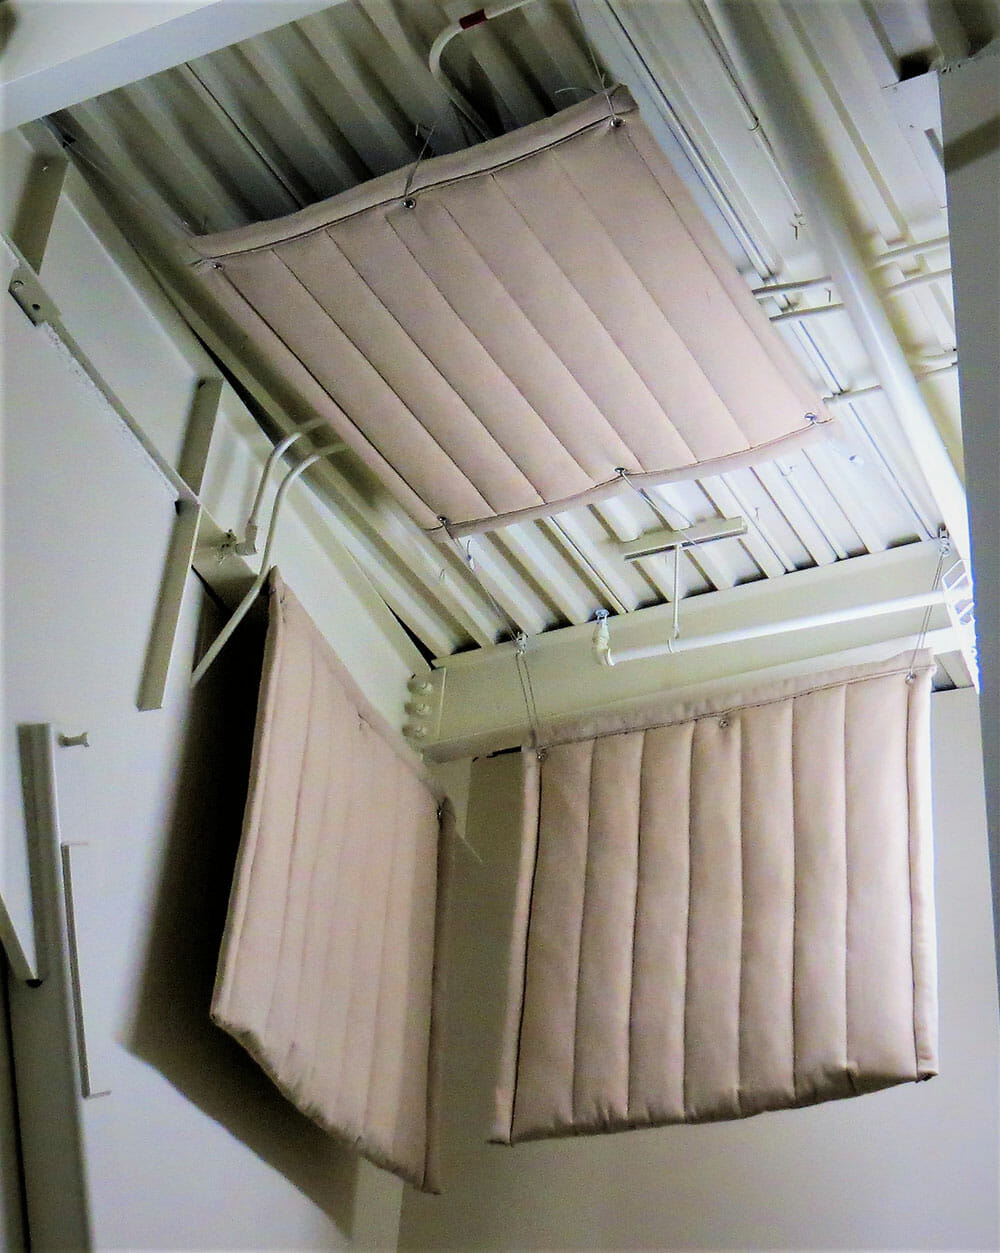
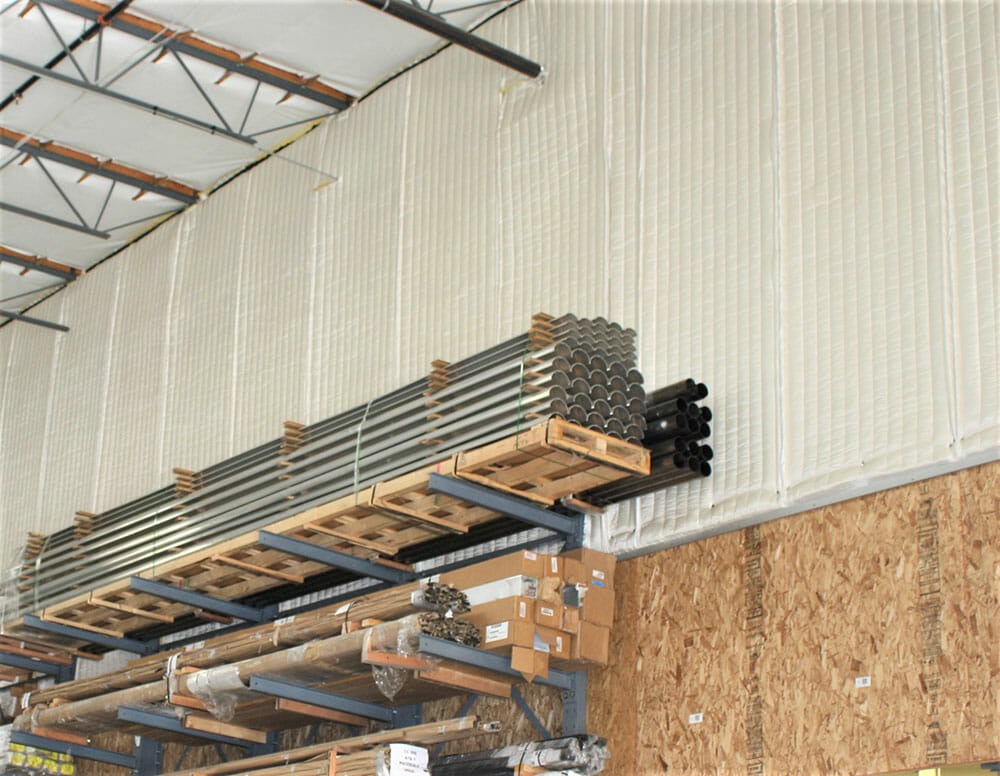
G. Installation to Ceiling or Overhead Structure
1. Overhead Installation
a. Install 1”x 4” or 2” x 4” strips to ceiling substrate at 18” OC perpendicular to Insul-Quilts for overhead mounting.
b. Attach one layer of Insul-Quilts using 2 ½” coarse thread screw with 1” washer. Do not compress Insul-Quilts to less than 1” at the point of penetration.
c. Install screws every 12” across the stripping and every 18” into the OC perpendicular stripping.
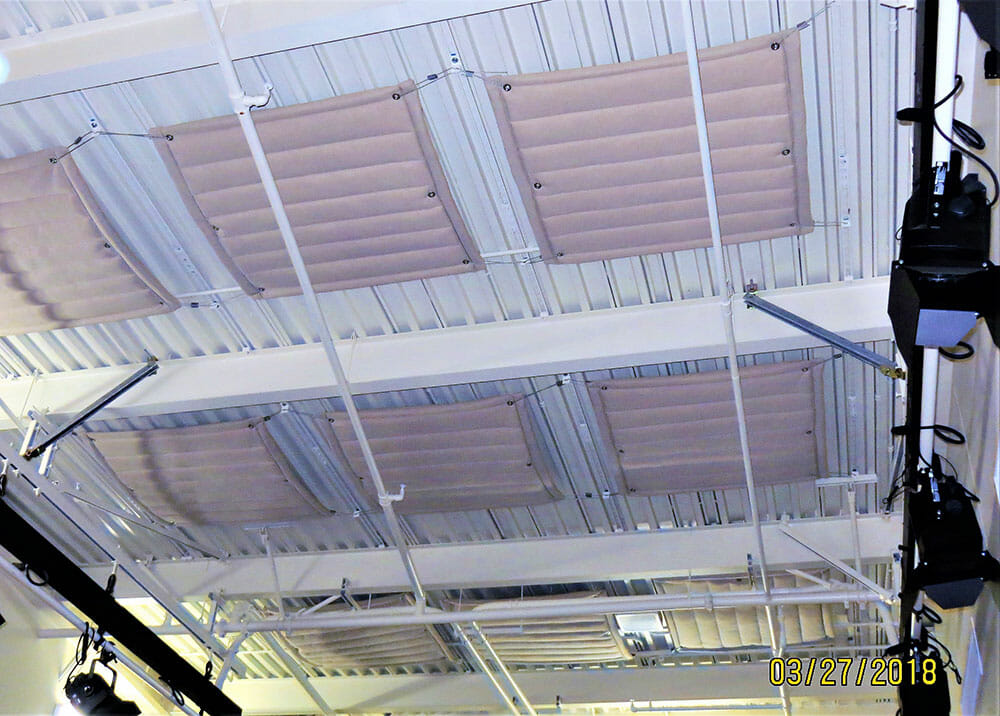
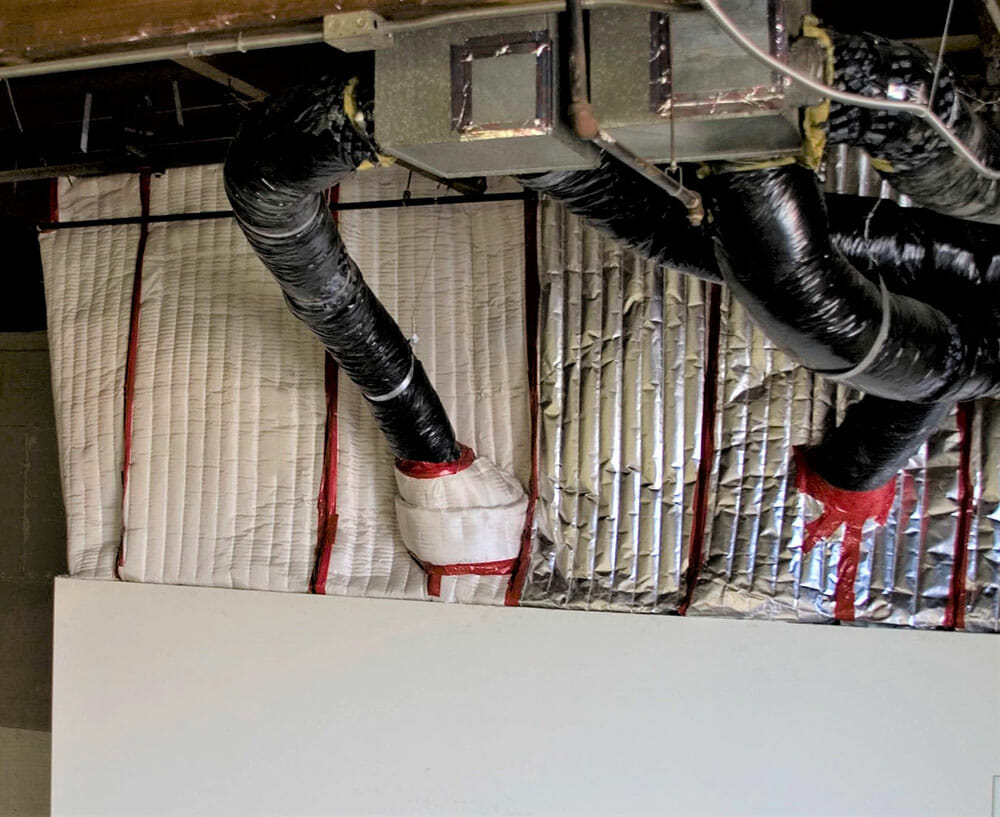
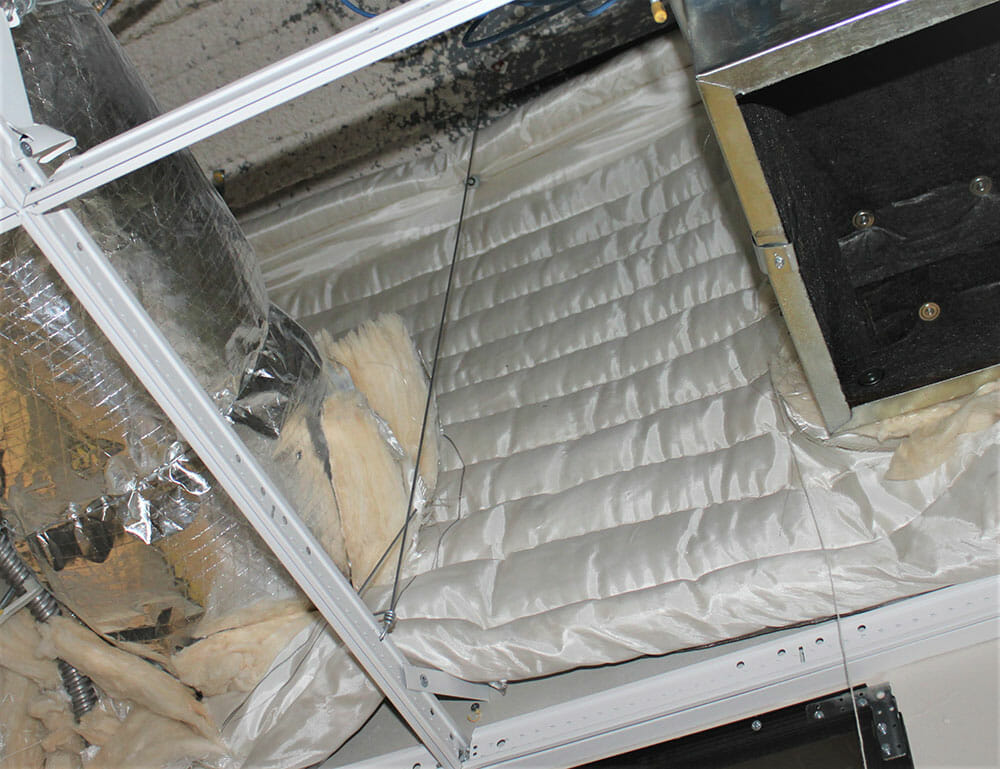
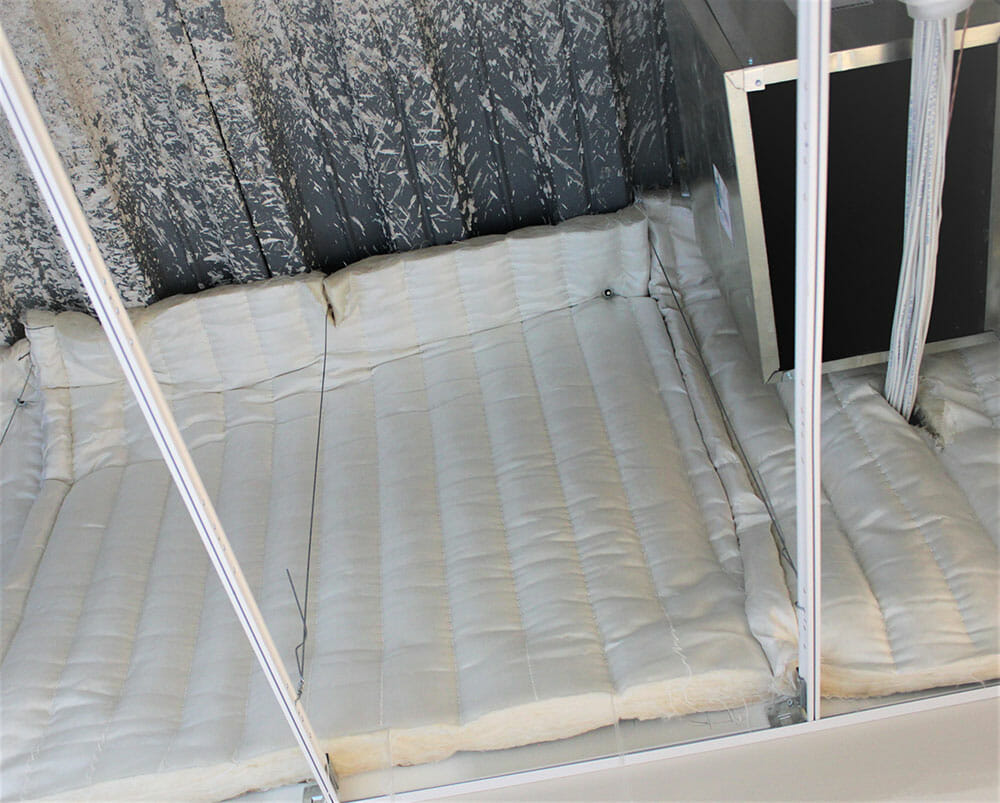
Plenium Barrier Configuration
Typical Installation of Insul-Quilts as Plenum Barrier.
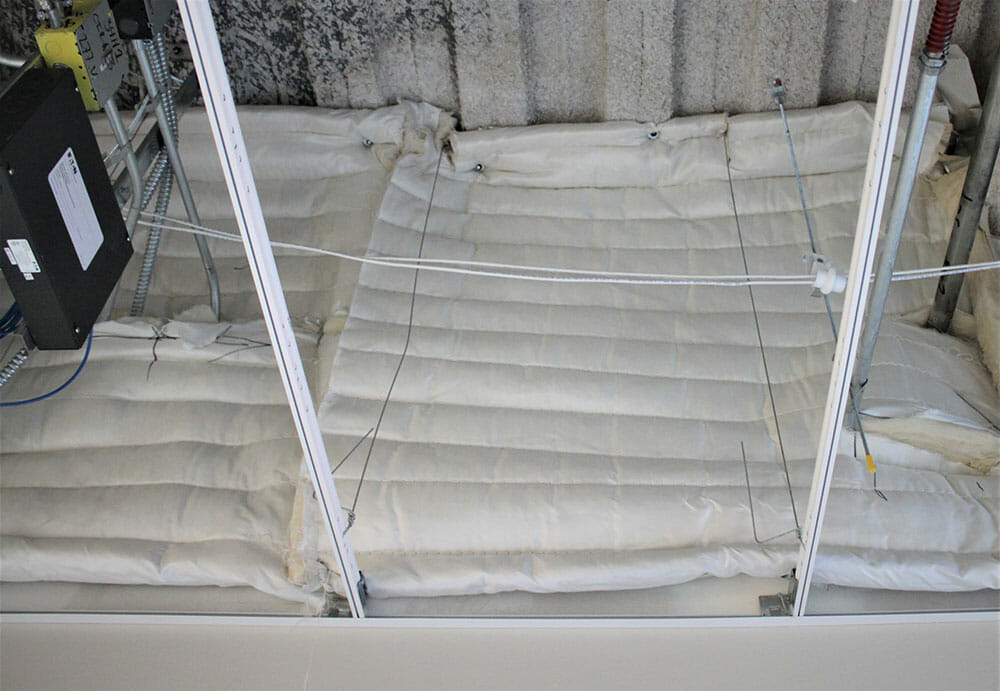
Baffle Configuration
Insul-Quilt Baffle with closed end. Exceptional quality for industrial use or controlling a localized noise source. Baffles may be hung independently or in groups. Grommets are available at ends and sides, if required. Baffles can be hung up to 30″ without support.
Insul-Quilt bafles work exceptionally well where localized noise sources are too loud for workers comfort, like heavy air handling units, load generators, and mill stamping operations. Baffles can be hung directly from the structure above or from wires to any height desired.